simply arranged
entertaining with style- making it work for you
Creating a stunning centerpiece for your table couldn’t be simpler. All you need is a bunch of flowers from the grocery store, a square vase, a little scotch tape, and a pair of scissors. If the thought of creating your own arrangement previously put you in a panic, take a deep breath and utilize this little trick used by many floral design experts. In less than fifteen minutes your table will grace your very own beautifully composed display without breaking the bank.
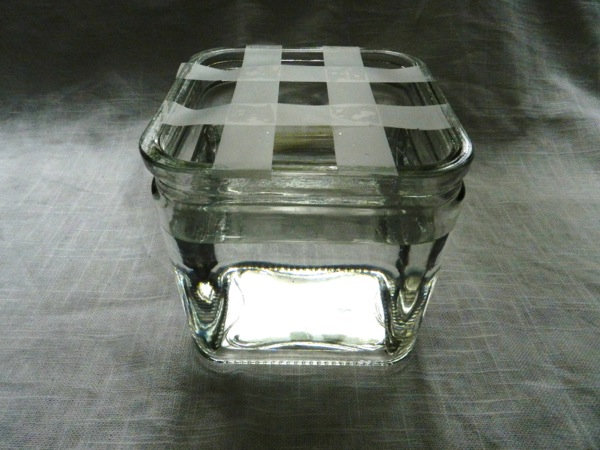
Remember the cardinal rule- flowers on your table should always be low. Obstructing your guests’ view of one another is a sure fire way to impede conversation. A square vase can be stunning, especially when your blooms seem to magically stand at attention. The secret is a transparent grid made out of scotch tape.
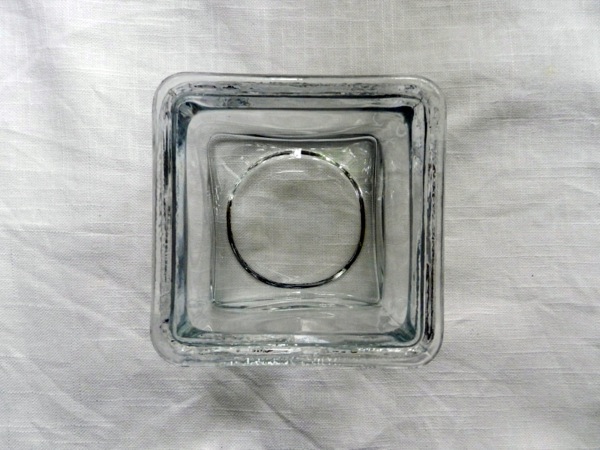
First start out with a medium sized square vase. I got this 5”x5”x5” one from Target for about six dollars. You can also find these glass cubes at craft stores.
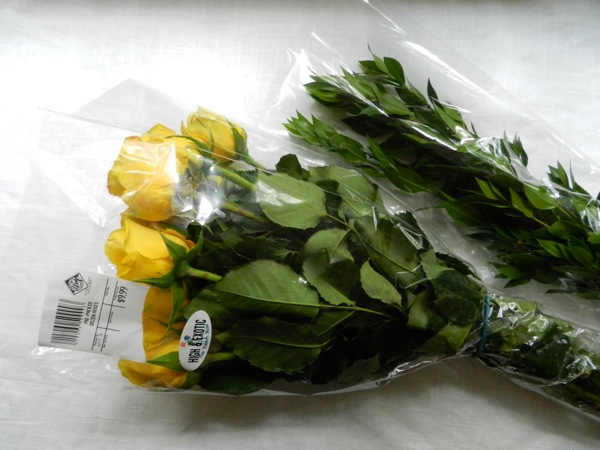
Next pick up a bouquet from the floral department at the grocery store along with a package of spiky foliage. A dozen roses and a spray of filler such as myrtle are perfect choices for this arrangement. Make sure you remove the flowers and greens from their plastic sleeves and place in a container of cool water.
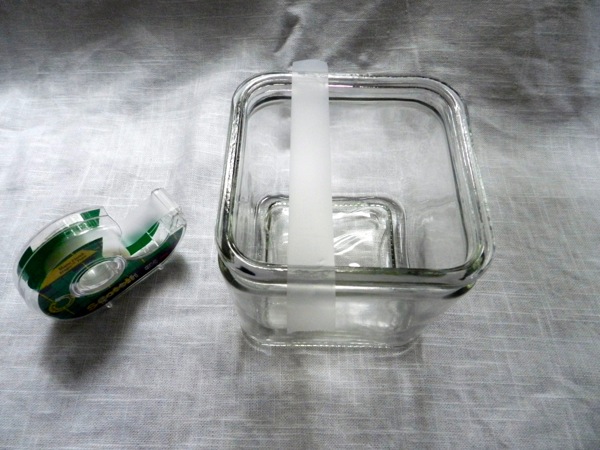
Your scotch tape grid will ensure that your flowers don’t flop over. Once completed you will have six pieces of tape creating a grid with nine equally spaced openings. Measure out a strip approximately the same length of the vase. Place the first strip vertically one third over from the left.
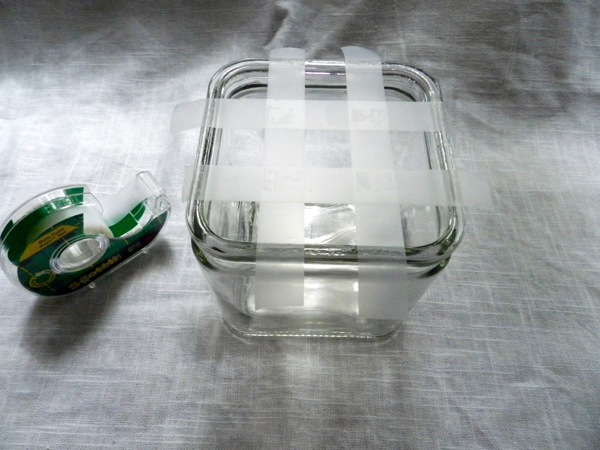
Place the second strip of tape two-thirds over from the left. Continue with two more pieces of tape placing each horizontally one-third then two-thirds down from the top.

Trim any overlaying tape with scissors. You want the tape to reach just to the edge of the vase. Press along the vases edge to adhere.
Carefully fill with water to about one inch from the top of the vase. Take care not to get the tape wet.
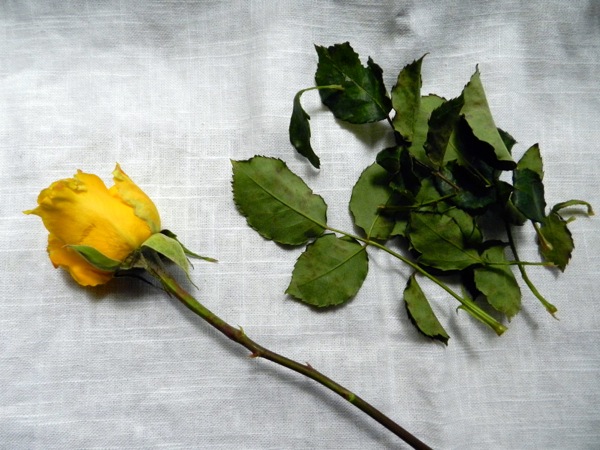
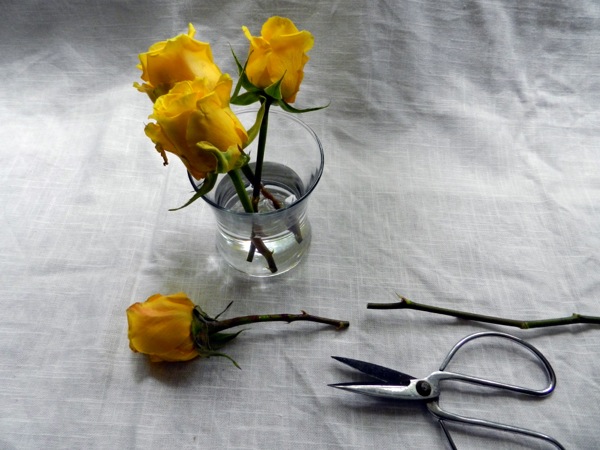
It’s important to remove all the leaves from the stems of the roses. The leaves might rip the tape from the edge of the vase. And you never want any foliage beneath the water line because it allows bacteria to grow in the water, which causes the flowers to wilt much faster.
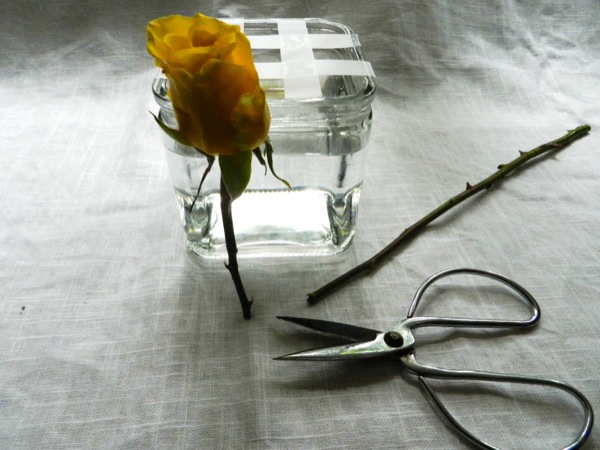
Trim the rose stems so that the rose bud is just above the top of the vase. If the stems are too long they wont stand up straight and if they are too short they will weigh down the tape and cause it to break.
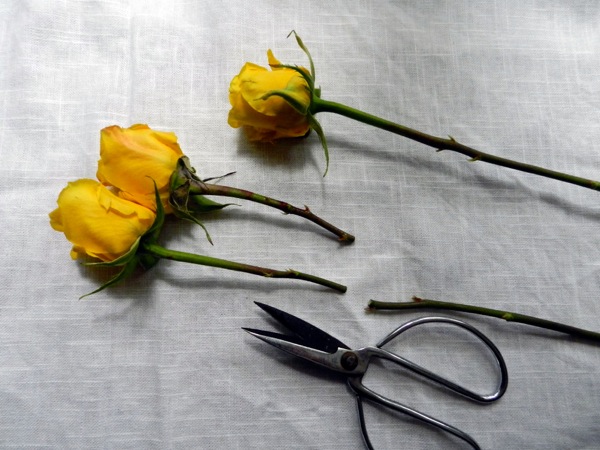
Use one rose as a guide and cut the others to match. For this arrangement you will need nine roses.
It’s important to cut the stems on a diagonal then immediately place them in water so the stems take up as much water as possible. Your arrangement will last much longer if you do this. So cut each rose and place right in a glass of water. Once all your blooms are cut then you can begin arranging your flowers in the prepared vase.

Place one rose in each opening in the grid. Trim any roses as needed so that they are the proper length.
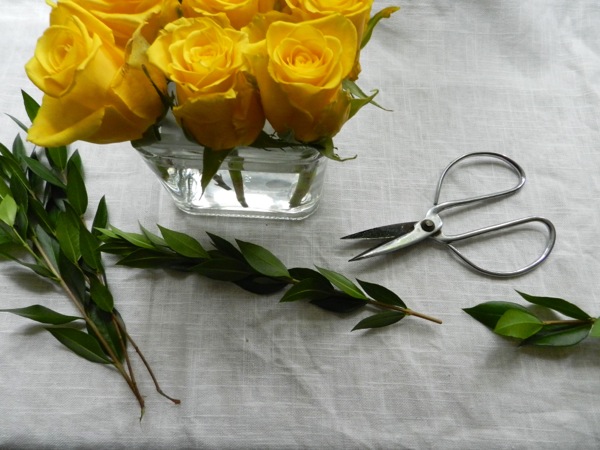
A bit of green foliage really makes this arrangement pop. Measure so that the tops of the sprigs are about ¼ inch above the tops of the roses. Trim away any leaves that will be below the water line.
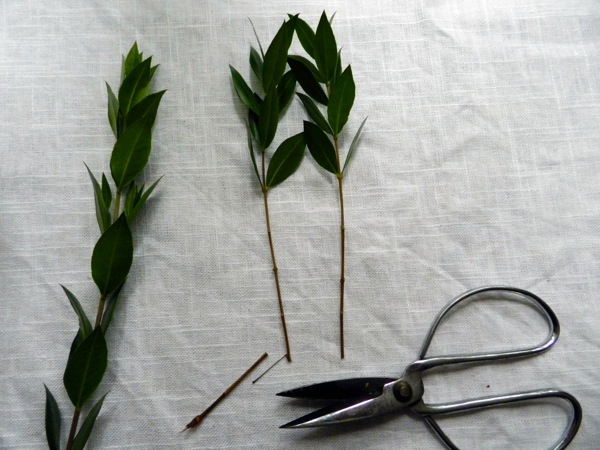
Continue with three other sprigs.
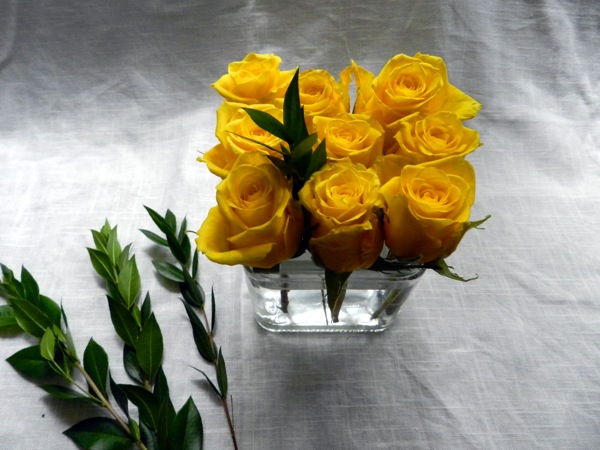
Place one sprig in each of the four center openings in the grid. Be careful not to tear the tape.
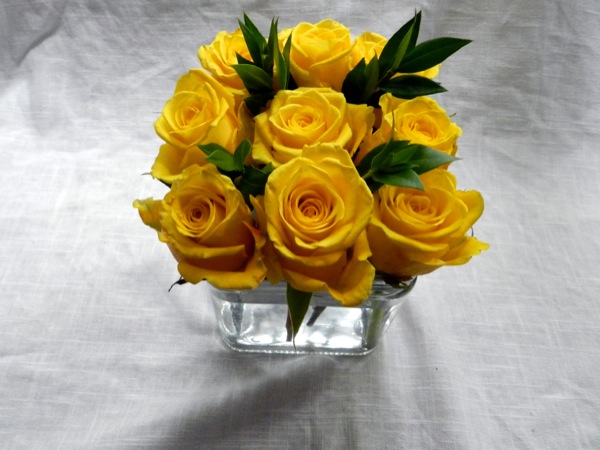
In a matter of minutes you have a beautiful arrangement for mere dollars. The fact that you did it yourself will certainly be a topic of conversation.
 Wherever I find myself, I’m happiest with a full dining room table. As a former professional chef and caterer I want to share what I’ve learned over the past three decades of entertaining. On this site you’ll find tricks of the trade to help even the most harried of you pull off a seemingly seamless fête. Come join the conversation!